• Sign Up! To view all forums and unlock additional cool features

    Welcome to the #1 Audi RS3 Forum and Audi RS3 community dedicated to Audi RS3 owners and enthusiasts. Register for an account, it's free and it's easy, so don't hesitate to join the Audi RS3 Forum today!

aftermarket fog light installation

92683

Moderator
Staff Team
Messages
614
Reactions
44
City
socal.
State
CA
Country
United States
What I Drive
2015 s3
#1
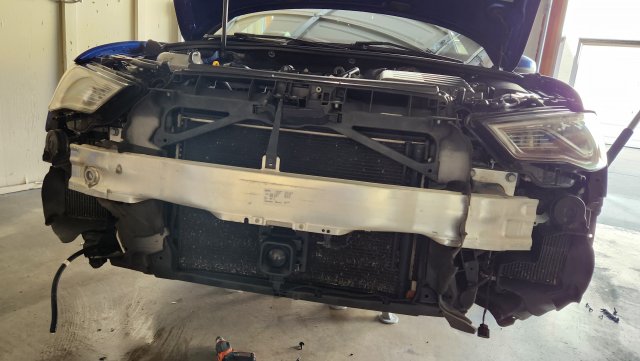
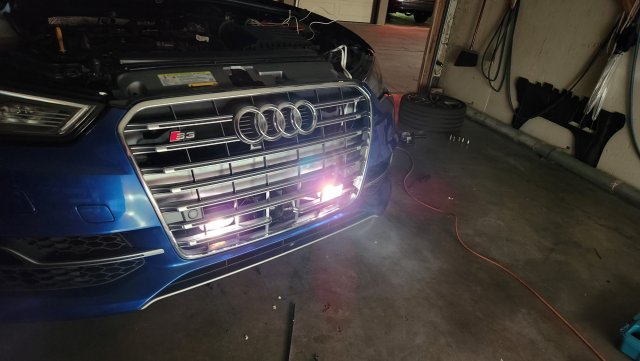
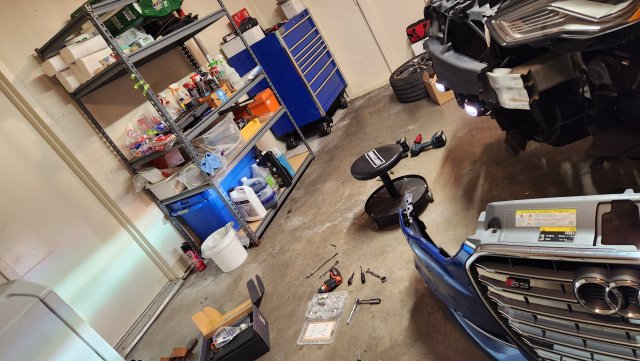
i need more lighting in the front with the crappy LED headlights.

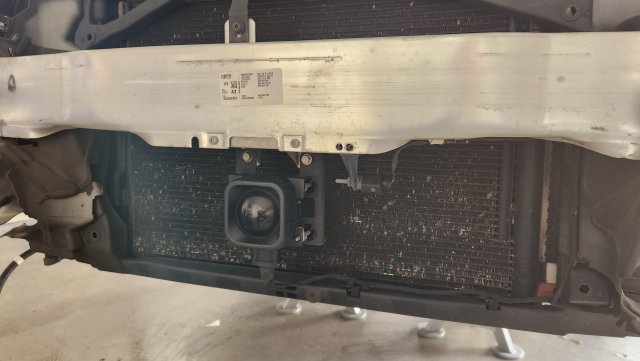
i have a couple of aftermarket fog lights from years past that i really like. so i think its about time i use them. i just didn't think i can find a good way to mount them with the audi S3 front grill.
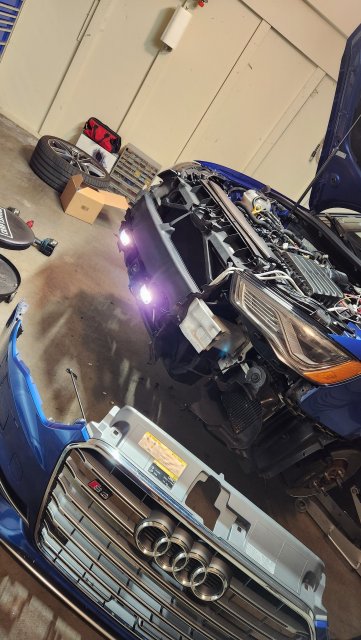
so lets see what i can do to make them fit.

in my current inventory, i have a set of PIAA 998 with yellow crystal lens round projectors fog lights (classic style) and a set of catz SP oval/ rounded rectangle (classic style) with crystal lens projector fog lights.

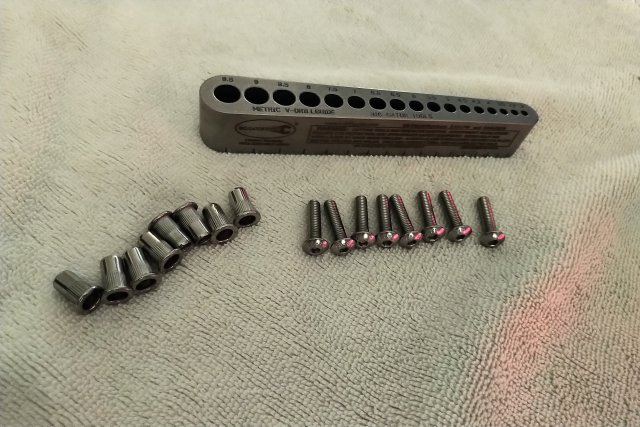
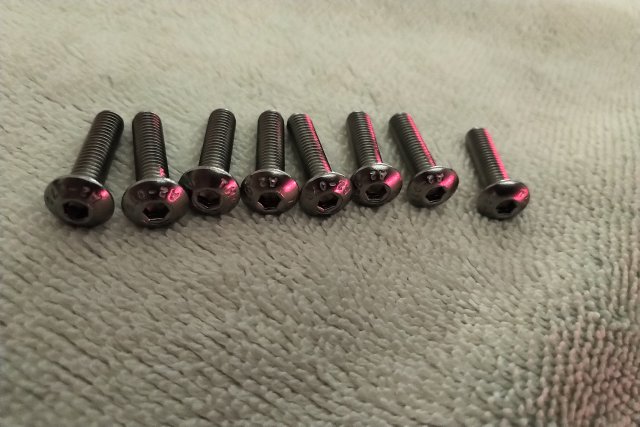
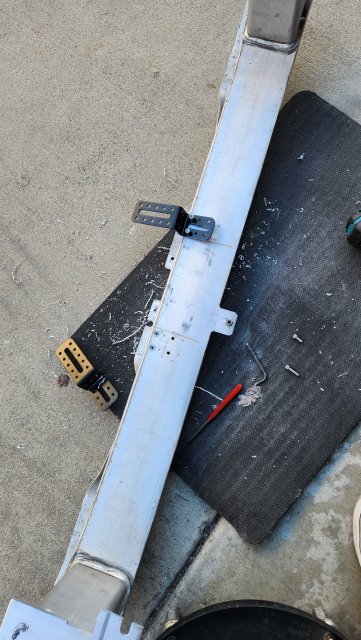
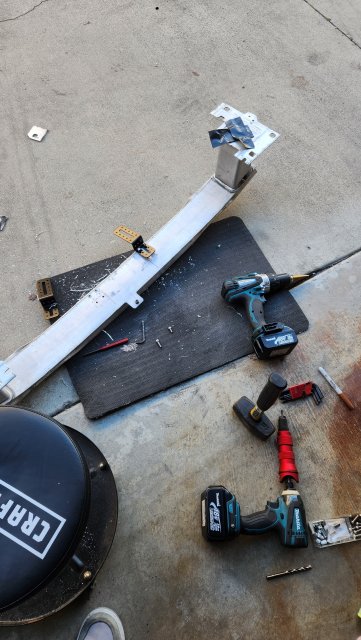
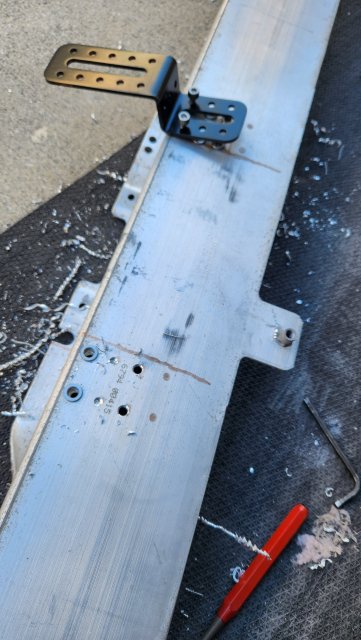
just got some proper mounting hardware that will help make it look awesome and allow some fine adjustments when the fog lights are installed.
 
Last edited:
OP
92683

92683

Moderator
Staff Team
Messages
614
Reactions
44
City
socal.
State
CA
Country
United States
What I Drive
2015 s3
Thread Starter #2
getting close to doing the installation.
got some tools and installation parts to make it look and work much better.
i believe ill be using my catz sp fog lights for this project. the piaa's are too large but i would have liked to use those more. the only way to make it work right would be to cut out a smalls section on the grill. for now ill try to do it without cutting.


onward, decided to get some nice and functional fasteners. im missing a metric drill bit as my drill guide and the threaded rivet inserts requires that size. i noticed that most supply stores don't carry metric drill bits.


IMG_20220714_0024011.jpg

IMG_20220714_0022586.jpg
 
OP
92683

92683

Moderator
Staff Team
Messages
614
Reactions
44
City
socal.
State
CA
Country
United States
What I Drive
2015 s3
Thread Starter #3
so i was able to start the little project as intended.
i have not fully wired it up yet but its getting there. i have a few items I'm ordering to make sure its install correctly and to function and look as much as OEM as possible.

first thing i decided i wanted to install it on the bumper beam. to access it you must remove the front bumper cover. its not too bad but you can find that how to online. then you can take out the bumper beam to modify it.
i drilled it and installed some thread serts so i can install bolts into it. so it can be removed and installed easily. well worth the extra effort.
 

Attachments

OP
92683

92683

Moderator
Staff Team
Messages
614
Reactions
44
City
socal.
State
CA
Country
United States
What I Drive
2015 s3
Thread Starter #4
then when i took off the bumper beam i was able to drill into it with ease. i would recommend using a drill press. my holes were pretty off with free hand. and even at 1mm off its off a lot. drill press is my next tool to pick up for sure.
 

Attachments

OP
92683

92683

Moderator
Staff Team
Messages
614
Reactions
44
City
socal.
State
CA
Country
United States
What I Drive
2015 s3
Thread Starter #5
my next step was to decide how to tap into the power. of course the theme is OEM looks and functionality. so i decided to use the OEM fuse box under the hood. and its very close to the side i am wiring into the cabin. perfect. :cool:

lets take it apart so i can tap into the fuse box. why, because i wanted to use OEM fuses like how the car runs them. the fuse box has a power bus which runs constant 12 volts from he battery. if i use that fuse box there is less wiring showing in the engine bay. i personally think its tacky to have a bunch of extra wires stuck on the battery terminal. one max two can be attached but after a while there will be a whole slew of ugly wires there. that's my thought process. :coffee:
but i do attach extra cables i would want to make it look much nicer and the OEM positive and negative terminals look horrible. ill be upgrading that soon. so that will be for another post.
here is what it looks like. when i opened up the fuse box. i needed to find an opening what wasn't used but had a power bus along one side of it.
ill be attaching a yellow power lead that plugs right into the the fuse box.
 

Attachments

OP
92683

92683

Moderator
Staff Team
Messages
614
Reactions
44
City
socal.
State
CA
Country
United States
What I Drive
2015 s3
Thread Starter #6
fuse box with the yellow power lead.
 

Attachments

OP
92683

92683

Moderator
Staff Team
Messages
614
Reactions
44
City
socal.
State
CA
Country
United States
What I Drive
2015 s3
Thread Starter #7
now that the fogs are attached and the basic part of the power cable is in place i can test it out.
i do plan on making it look much cleaner when i have everything done but for now i need to test out the fog beams and make sure they light up. also that they cant jolt around once i have the level and angle to my desired direction.
 

Attachments

OP
92683

92683

Moderator
Staff Team
Messages
614
Reactions
44
City
socal.
State
CA
Country
United States
What I Drive
2015 s3
Thread Starter #8
so far its working great. my only grip is that i was not able to attach the remote on/off to the parking lead. i just didn't have time yet. that lead is behind the fuse box in the cabin. that will take some time to remove and attach. i may do that around summer time. ill attach more photos when i attempt.


Top